Why Does Instagram Ruin Photo Quality?
A soft post does not always mean your original photo is bad. The source file, crop, repeated exports and the version you are viewing can all affect what you see. Compare each stage before editing again. Enhancing a downloaded post cannot reliably recover every detail from the original.
Skip the manual work
Upload your photo and get a sharper version in about 30 seconds. Free, no sign-up.
Try the free unblur tool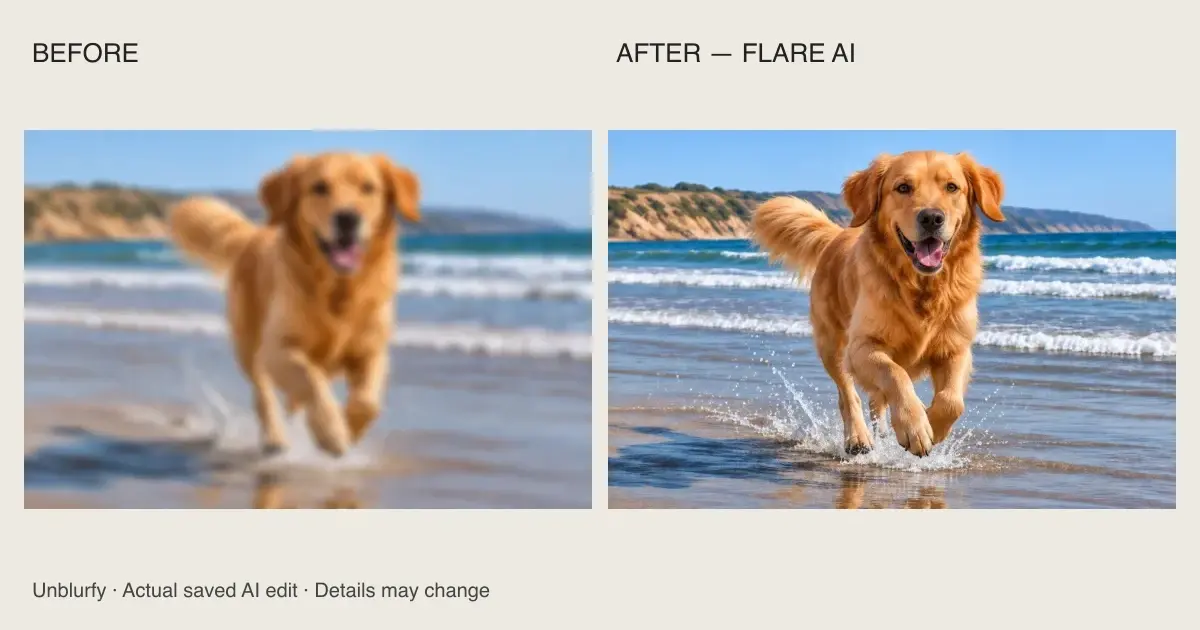
Find where the quality changed
Open the original photo, the file you exported and the posted version beside one another. Compare a face, a smooth background and a high-contrast edge. If the exported file is already softer, start with your editing or transfer process. If only the posted view looks different, check another view before reworking the original. This comparison is more useful than assuming every quality problem has the same cause.
A small thumbnail can look sharp because it hides weak detail. Zooming into a post reveals a different scale, which makes a direct visual comparison misleading. Compare both images at the size you actually plan to show. Avoid using a screenshot of the app as your only quality reference; it includes another rendering step and may not have the same pixels as the saved file.
Compression and repeated saving
Lossy image compression represents a picture with less data. Depending on the content and settings, it can soften fine texture, add block patterns or create ringing near edges. Those are general image effects; we are not claiming to have measured Instagram's current compression pipeline. If your only source was already a compressed chat attachment, the missing detail may predate the post.
Repeatedly downloading, editing and saving a lossy copy can make the damage harder to untangle. Keep one original master, perform your edits from that file and create one final export for posting. If you need another crop later, return to the master. Renaming a small file “HD” or converting it to another format does not restore what earlier compression removed.
Instagram photo dimensions and a practical export size
Instagram's Help Center guidance says photos 320 to 1080 pixels wide keep their original resolution when the aspect ratio is between 1.91:1 and 4:5. At 1080 pixels wide, that corresponds to heights from 566 to 1350 pixels. Images wider than 1080 pixels are reduced to 1080 pixels. Check the crop before sharing, particularly when a face or lettering sits near an edge.
For a portrait feed photo, a useful export starting point is 1080 × 1350 pixels, or 4:5. This is a preparation recommendation, not a promise that a platform leaves every byte unchanged. Keep the larger original separately. If your source has fewer pixels, simply exporting a larger file cannot recover missing detail. Other posting formats may have different requirements; check the current app preview before publishing.
Find Upload at highest quality in your app
Look for “Upload at highest quality,” usually under Settings and privacy → Media quality. Menu names and locations vary by app version and account, so use the settings search or current Instagram help if that route is different on your phone. Enable the option when available, then compare a post made from the same source file rather than changing several variables at once.
A quality setting cannot repair camera blur or reconstruct missing pixels. If the original is visibly soft, work on a copy of the source first. Inspect your 1080 × 1350 export before uploading, keep an untouched master, and check the actual crop in the app. A sharp source, a deliberate crop and a final-file comparison are more useful than repeatedly saving a compressed download.
A practical preparation workflow
First, find the largest authorized original in your camera roll or project files. Inspect the subject at a useful viewing size. Decide the crop, make a copy and avoid repeatedly saving over the master. If you are preparing a graphic, keep the text editable until the final export. This preserves your ability to correct a typo without asking an image model to redraw the words.
Next, inspect the exported file before posting it. Look for halos around hair, speckled shadows and broken thin lines. If those defects already exist, return to the edit rather than blaming the upload. Use official Instagram guidance for the chosen post format, then compare the posted version with your export. Keep notes on what changed so the next image does not require the same guesswork.
Repair the source when it is genuinely soft
For a soft original, try AI enhancement with the image unblur tool. Review resolution and usage before pressing Enhance photo. Inspect the output at the intended display size, since AI can change textures and fine details.
For stronger blur or low-resolution detail, compare an AI version with the original. Unblurfy's free AI includes one daily 1K attempt anonymously or two when signed in. Paid 1K uses 1 credit and 2K uses 2 credits; paid access is explained on pricing. AI can redraw faces, patterns and text. A sharper image is not proof that the original details were recovered, and processing may take longer than the usual roughly 30 seconds.
Text, artwork and photos already posted
Use text deblur for screenshots or captions in images. Compare the AI interpretation with the original and check every important word. If the design source exists, re-export it. Never treat AI lettering as verified document text.
If you only have a downloaded post, save an untouched copy before enhancing. It may contain less detail than the original upload. Try asking the creator for the source when you have permission to reuse it. Do not use enhancement to uncover deliberate redaction, bypass paywalls or reconstruct someone else's hidden information. Severe damage may improve only partly, even when the result looks cleaner.
Build a reusable source workflow
Store the original, editable project and final export separately. Give each a name that makes the relationship clear, rather than overwriting the same file for every platform. If you later want a print, use the print size calculator with the original pixel dimensions. A file prepared for a small screen should not automatically become a large print master.
Before publishing a batch, inspect one representative image with fine detail and one with smooth tones. Compare at the intended viewing size, check the crop and confirm that lettering still reads correctly. Keep the version you prefer rather than accepting every “enhanced” output. For the next post, repeat the same simple comparison instead of chasing a setting that may not address your actual source problem.
If your source came from a conversational image editor, read can ChatGPT upscale images before treating a regenerated detail as the original.
Instagram help for current image requirements
Frequently asked questions
Why does Instagram ruin photo quality?
Check the original, crop, exported copy and displayed post separately. A small source or repeated lossy exports can already be soft before posting. Do not assume one cause without comparing.
What size should I upload to Instagram?
Check Instagram Help for the current requirements of your post format. We could not verify its current dimension and aspect-ratio guidance, so do not publish a numeric recommendation here.
Where is the highest-quality upload setting?
Consult the current Instagram app and its official help. We could not verify a universal menu path and do not promise that every account or version has the same controls.
Can I fix a photo that is already blurry?
Try the original first. Mild softness may respond to sharpening. AI may improve appearance but can redraw details; compare before publishing.
Should I sharpen before every upload?
No. Inspect at the intended viewing size. Excess sharpening can emphasize noise and halos. Keep the original and export a separate copy.
Skip the manual work
Upload your photo and get a sharper version in about 30 seconds. Free, no sign-up.
Try the free unblur tool