How to Unblur a Photo on iPhone
You can sometimes fix blurry photos on iPhone by finding the full-size original or making a small edit. Start there, then try enhancement if needed. Severe blur cannot always be repaired, and AI may redraw details.
Skip the manual work
Upload your photo and get a sharper version in about 30 seconds. Free, no sign-up.
Try the free unblur tool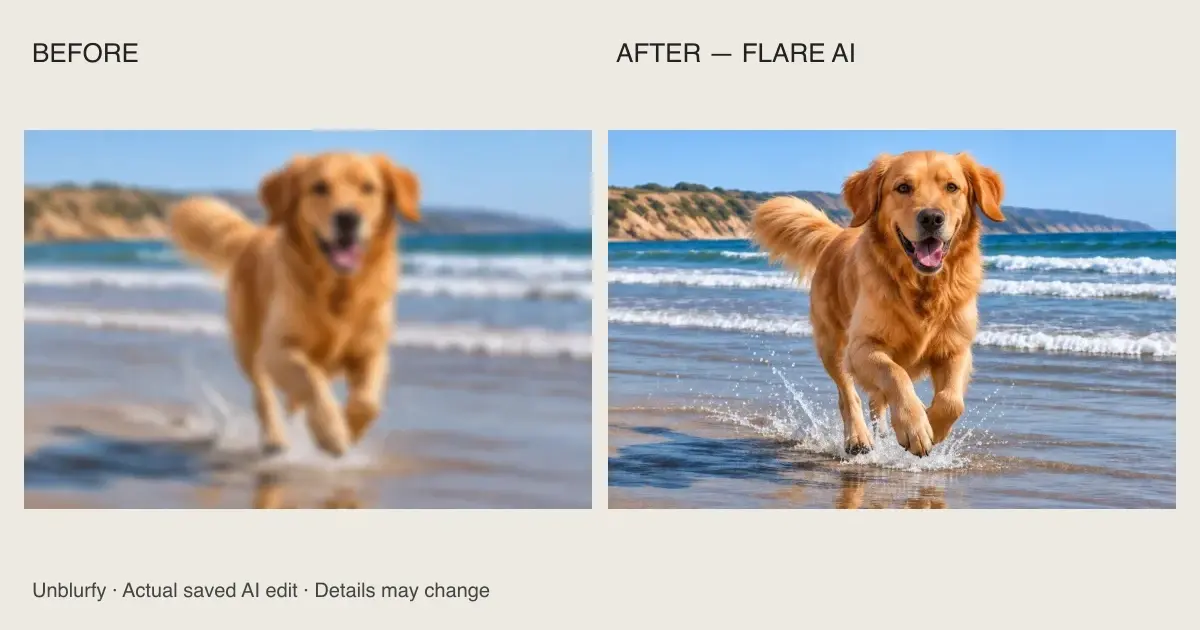
First check whether the original is actually blurry
To fix blurry photos on iPhone, start by opening the original in Photos and checking the part that matters. A small preview, a screenshot of a photo and a compressed message attachment are different from the camera original. If another copy looks sharper, use that file before trying restoration. Zoom only far enough to judge the intended use; every digital image shows pixels under enough magnification. Save an untouched copy before experimenting with edits.
Look at the pattern of damage. Softness across the whole frame can come from missed focus or a dirty lens. Streaked edges can suggest camera or subject motion. Square blocks can indicate a small or heavily compressed copy. These clues are not a diagnosis of a hardware problem. If new photos keep coming out blurry, follow Apple’s camera troubleshooting guidance before processing an entire library. An image enhancer cannot repair the camera that produced the source.
Not sure what caused the blur? Read why photos turn out blurry.
Clean the lens and choose focus before another shot
Apple recommends cleaning the front and back camera lenses with a microfiber cloth when photos are blurry. Its troubleshooting guide also recommends removing cases, films or accessories that may obstruct the camera. Try another photo after each change so you can tell which change helped. If a particular camera still behaves badly, compare it with the other camera and follow the official troubleshooting steps. Avoid assuming that software enhancement is the only available remedy.
Apple’s iPhone camera guide explains that you can tap the screen where you want the focus area to move. You can touch and hold that area until AE/AF Lock appears, then tap the screen to unlock it. Focus on the subject that matters before pressing the shutter. For low light or movement, give the camera a steadier view and look for a better-lit opportunity. The exact tools available vary by model and iOS version.
Check iCloud originals before enhancing a thumbnail
Apple explains that iCloud Photos can keep full-resolution originals in iCloud while storing smaller versions on a device when Optimize Storage is enabled. A small on-device copy is therefore not the same as a permanently damaged original. Check that the photo has had time to load over a reliable connection before judging it. If an original is still downloading, processing a screenshot of the preview can lock in avoidable softness and compression.
Apple’s storage guidance places the option under Settings, your name, iCloud, then Photos. Follow the current Apple support page for the wording on your device. Downloading originals requires enough device storage; do not change a large library’s storage setting casually just to test one photo. When an image came from someone else, ask for the original file instead. AI enhancement should come after checking for a better source, not before that check.
Try the built-in Photos adjustments on mild softness
Apple documents opening a photo in Photos, entering editing, selecting Adjust, choosing an available setting and moving its slider. It also documents comparing edits with the original and using Done to save or Cancel to discard. Start with small changes to the controls available on your version of iOS. A contrast or edge adjustment may make a slightly soft photo easier to view, but it cannot bring back detail the camera never recorded.
Do not keep increasing an adjustment just because the preview looks punchier. Inspect hair, skin and high-contrast edges for halos or harsh texture. Compare at the size where you intend to share or print the photo. If it is a Live Photo or burst, check whether another captured moment is sharper before reconstructing the one you first opened. This guide does not prescribe a frame-selection menu path because labels and available controls vary across versions.
Use Unblurfy in your iPhone browser
Open photo enhancer or the image unblur homepage and select an original you have permission to process. Review resolution and usage, then press Enhance photo. HEIC and common image formats are accepted. Keep the page open while AI processes it; timing varies.
Compare before and after, then inspect faces, writing and small objects. AI may redraw details even when the whole picture looks convincing. Download a copy only after reviewing it, and keep the original alongside the edited result. Do not use a reconstructed face or number as evidence of identity or an event. If the result looks artificial, try a lighter adjustment or return to the original. Some severe blur simply will not improve enough.
For a short clip, extract a clearer video frame locally, then choose whether to enhance that still.
Increase resolution only when you need more pixels
If you are asking how to increase the resolution of an image on iPhone, distinguish enlargement from camera focus. An image upscaler adds pixels to an existing image; it does not retake the photograph. Unblurfy currently offers 1K and 2K, targeting about 1 and 4 megapixels respectively while preserving the original aspect ratio. Inspect the actual downloaded dimensions. There is no 4k output. For paper, use the print-size calculator rather than assuming a larger preview guarantees a sharp print.
1 free AI fix per day without signing in, or 2 per day when signed in, at 1K. Paid 1K uses 1 credit; 2K uses 2 credits. Batch is a member feature. See plans and credits. For writing, use text deblur and check letters and numbers against the original.
A practical routine for your next photo
Before shooting, clean the lens, check the focus area and choose a stable position with useful light. After shooting, open the photo and inspect the important area while you can still take another frame. Before sharing, use the best original rather than a screenshot of the photo. If a shared copy looks worse, compare the actual files before concluding that the camera failed. These small checks often save more effort than editing later.
For an older picture you cannot retake, work on a copy and define a modest goal: a clearer small display, a usable family album image or a more readable overall scene. Enhancement cannot reveal deliberately censored, private or paywalled content, and a sharper-looking output is not verified history. Keep the source, label the result as edited when accuracy matters, and stop when further processing starts to change the character of the photograph.
On a Galaxy phone? See how to increase image resolution on Samsung.
Official Apple sources, checked November 9, 2026
Frequently asked questions
Can I completely fix a blurry photo on iPhone?
Sometimes appearance improves, but severe blur may only improve partly. Neither sharpening nor AI can verify details absent from the source.
Why are my photos blurry on iPhone?
Check the lens, focus, movement, lighting and whether you are viewing a small copy. Persistent camera problems should follow Apple’s troubleshooting guide.
Does the Photos app increase resolution?
The adjustments described here edit appearance. For enlargement, compare actual pixel dimensions using the image upscaler.
Can iCloud optimization affect the copy I see?
Apple says optimized storage can keep smaller device copies while full-resolution originals stay in iCloud. Check the original before enhancing a preview.
Can I unblur a screenshot or receipt?
Try text deblur. AI can make text clearer, but very small or heavily blurred characters may be changed. Check amounts, reference numbers and other important information against the original image.
Skip the manual work
Upload your photo and get a sharper version in about 30 seconds. Free, no sign-up.
Try the free unblur tool